Import a demo
Milano ships with a set of pre-built demos — full storefronts with pages, products, menus, and Customizer settings already configured. Importing a demo is the fastest way to a working site. You can then replace the content, products, and images with your own.
The setup wizard offers the demo import as its last step, right after registering your purchase code and installing the required plugins. You can also import a demo at any time from the WP admin.
Before you import
Section titled “Before you import”You need three things in place first:
- Milano is installed and activated — see Install Milano.
- WooCommerce and Elementor are installed and active — see Install required plugins.
- A clean site is recommended — demos work best on a fresh WordPress install. If you have existing content, back it up first.
What a demo import does
Section titled “What a demo import does”A full import adds a complete storefront to your site:
- Pages — home, shop, product, cart, checkout, blog, contact, and any demo-specific pages.
- Products — sample products with placeholder images, descriptions, and prices.
- Menus — pre-built navigation matching the demo.
- Customizer settings — colors, typography, and layout options matching the demo.
- Widgets — sidebar and footer widgets matching the demo.
- Media — demo images, icons, and the site logo.
You can also run a custom import to bring across only specific parts — for example, only the Customizer settings without overwriting your existing content.
When to skip the demo
Section titled “When to skip the demo”A demo import is the fastest way to a working site, but it is not always the right choice:
- You have an existing site with content — importing over your content will overwrite it. Back up first, or use a custom import with only Customizer settings selected.
- You want a fully custom design — starting from scratch in Elementor and the Customizer gives you a clean canvas.
- You are on shared hosting with tight resource limits — a full import can take several minutes and may hit PHP limits. Increase
max_execution_timeandmemory_limitbefore importing, or import parts separately.
Import a full demo
Section titled “Import a full demo”-
Go to Milano → Demos in your WordPress admin.
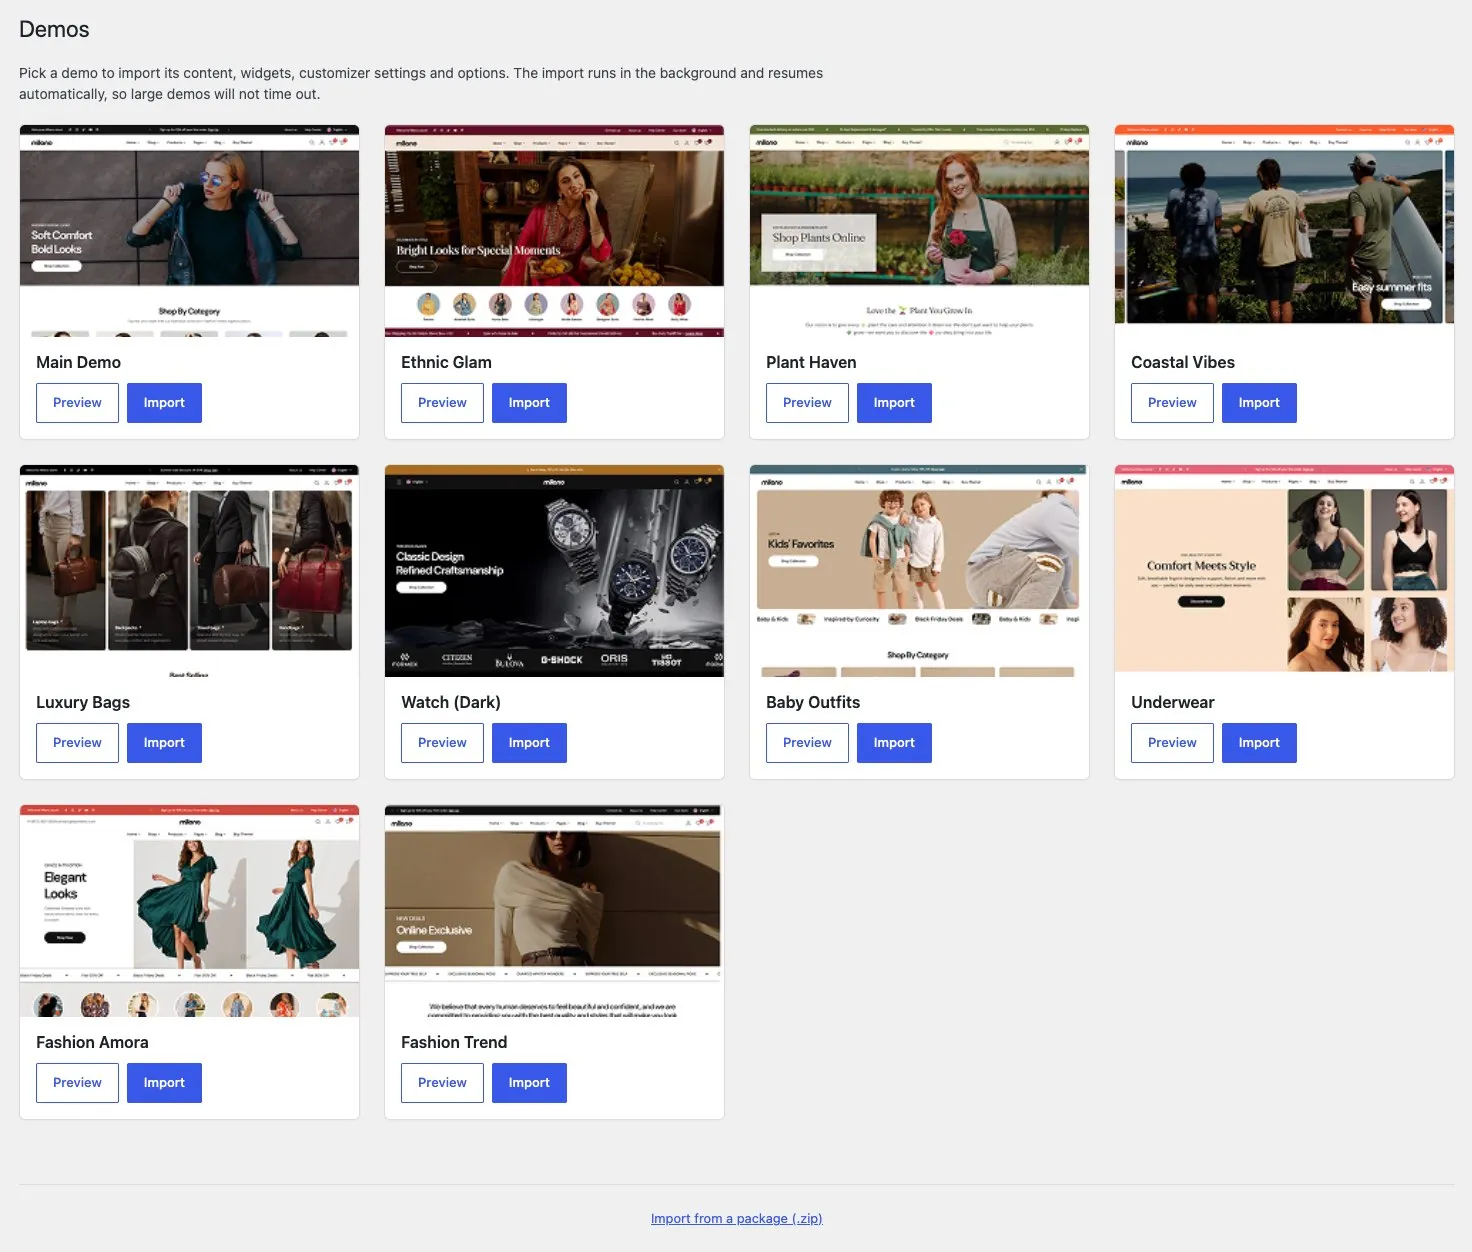
-
Browse the demos and click Import on the one you want.
-
A confirmation dialog appears. Click Import to start.
-
Wait for the import to finish. You will see a progress bar for each step: installing plugins, importing content, Customizer settings, and widgets.
-
When the import is complete, click View your site to see the result.
Import specific parts
Section titled “Import specific parts”If you only want certain parts of a demo, click Custom Import on the demo card instead of Import. You can then choose which items to import:
- Content — pages, posts, products, and media.
- Customizer settings — colors, typography, layout options.
- Widgets — sidebar and footer widget areas.
Select the items you want and click Import Selected.
Troubleshooting
Section titled “Troubleshooting”Problem: The import stops at a certain percentage and does not continue.
Fix: This is usually a server timeout. Increase your PHP max_execution_time to at least 300 seconds and memory_limit to 256 MB or higher. Then retry the import.
Problem: “Failed to import content” error. Fix: Check that WooCommerce and Elementor are installed and activated. The demo content depends on these plugins.
Problem: The imported demo looks different from the preview. Fix: Make sure the Customizer settings were imported. Go to Milano → Demos and run a Custom Import with only “Customizer settings” selected.